This is the sixth and final part of a six-part series on the basics of creative surface embroidery, for beginners and those looking to refresh their hand embroidery skills and knowledge.
Your embroidery is done, now what? If you had a finished product in mind, you’ll need to prep your embroidery for the next phase of that project, whether it’s sewing, framing or some other creative idea. If not, you might want to just leave it in the hoop as hoop art. Either way, you’ll want a piece of smooth embroidered fabric to work with.
Ironing your embroidery
Fortunately, you can iron this style of embroidery with the help of a plush towel. Mollie Johanson explains step by step how to iron your finished hand embroidery on The Spruce Crafts. And that’s it.
Framing your embroidery
If you plan to frame your work, you’ll need to mount or stretch it on to board first. This can be done by some professional framers, or you can do it yourself using foam board.
Trish Burr has a quick and easy method of mounting embroidery on to foam board using double-sided tape.
Amanda from Wandering Threads Embroidery shows you how to mount your embroidery on to foam board using the lacing method.
And Tanja Berlin of Berlin Embroidery Designs has a detailed tutorial on how to mount your embroidery for framing in a store-bought frame, with a PDF download of the tutorial for you to print and keep.
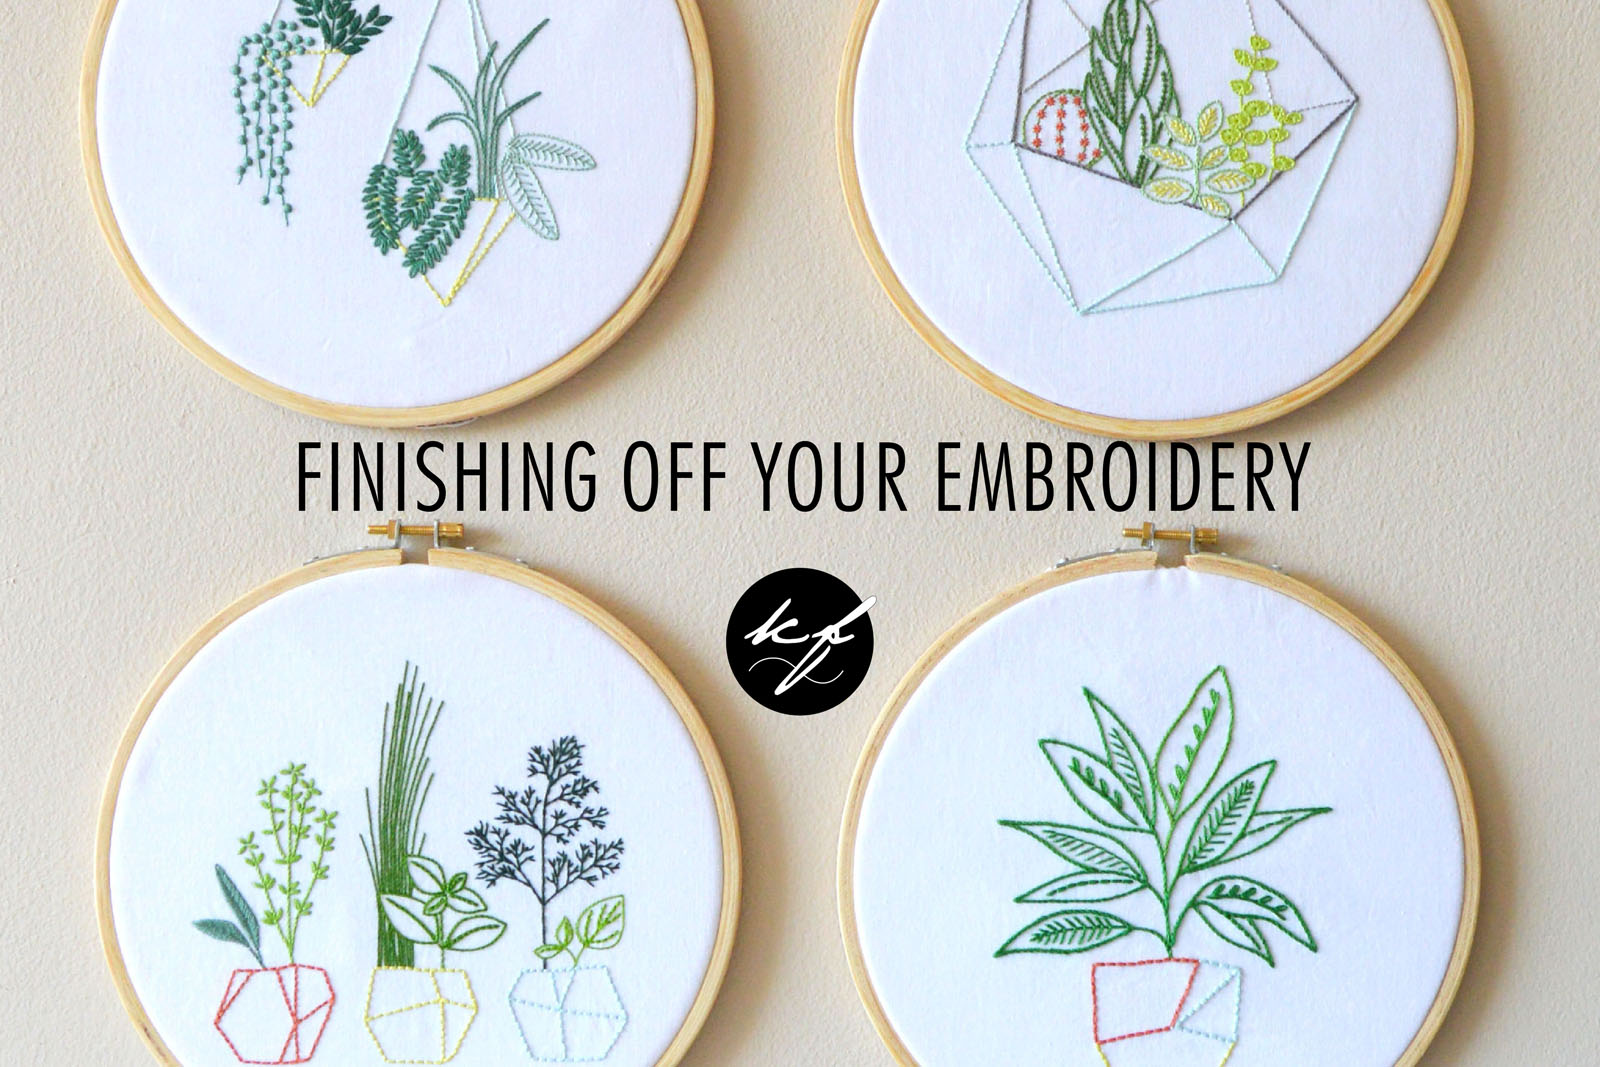
How to make hoop art
Another popular way to display finished work is to frame your embroidery in the hoop. Back it with a piece of felt for a professional finish. Jessica from Cutesy Crafts shows you how:
Sewing project ideas
Obviously, you can embroider pretty much anything you can sew. Plus a bunch of other stuff.
Mollie Johanson explains how to embroider on T-shirts and other clothing made from stretch fabric. She’s also written about how to embellish your jeans with embroidery.
Jessica Long from Namaste Embroidery shows you how to turn your hand embroidery into a patch.
There are lots of ideas for embroidered home décor in my book, Embroidered Home. Think cushions, tote bags, pouches, napkins, tea towels, wall art, notebooks, tablet cases, quilts, pillowcases, placemats...
A popular item to embroider is tea towels, but the trick is knowing how to start and end your threads neatly as the back of your work will be visible. The same goes for fabric napkins. Sarah Homfray shows you how to start and end threads from the front of your fabric, keeping the visible back of your tea towel or napkin neat and tidy:
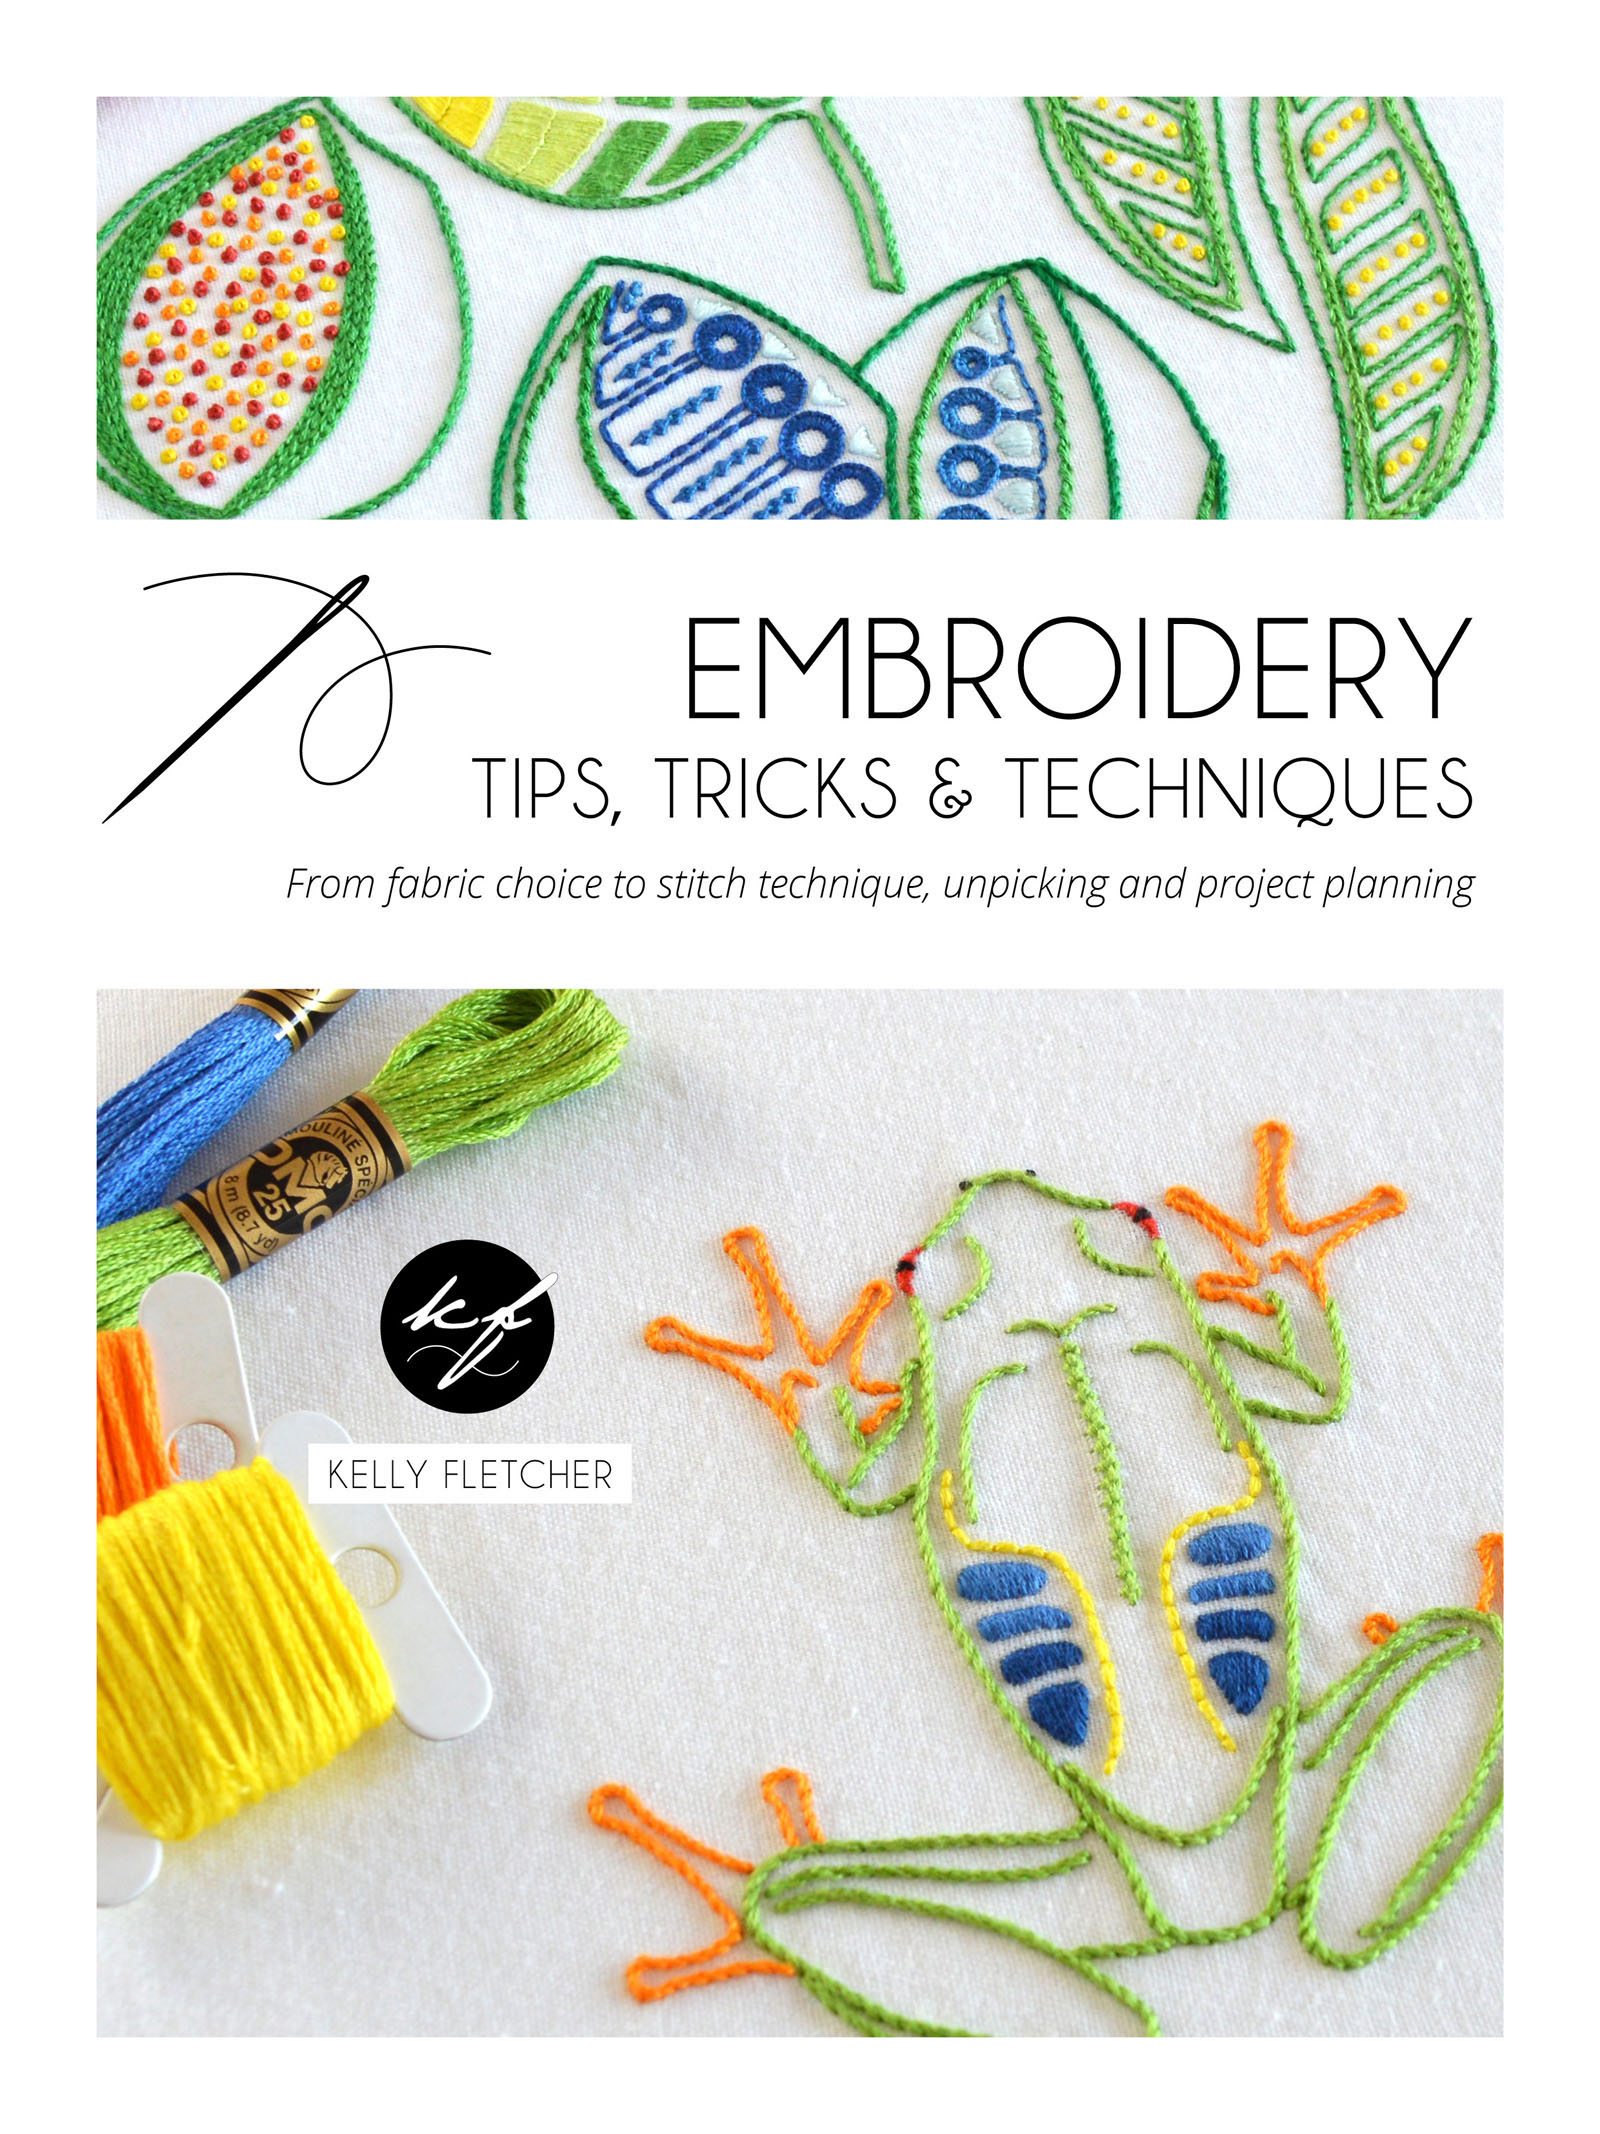
There’s some good advice on how to care for your embroidery – when washing and ironing the finished work, as well as while stitching – in Embroidery Tips, Tricks & Techniques, including an extreme solution if your thread colour runs into your fabric and you just can’t get it out!